Making your own corn whiskey at home is a rewarding and enjoyable process. With just a few easy steps, you can create a smooth and flavorful spirit that rivals commercially produced whiskeys. In this guide, I will walk you through the process of making corn whiskey, from mashing the corn to distilling the spirit.
Key Takeaways:
- Learn how to make corn whiskey with this easy step-by-step guide.
- Create a flavorful spirit that rivals commercial whiskeys in the comfort of your own home.
- Mashing the corn, fermentation, and distillation are the key stages in making homemade corn whiskey.
- Consider aging your corn whiskey for a mellower flavor, but it’s not required.
- Always follow legal regulations and permits when making corn whiskey at home.
Contents
- 1 The Ingredients You’ll Need
- 2 Mashing the Corn
- 3 Making the Yeast Starter
- 4 Fermentation
- 5 Distillation
- 6 Cleaning and Dilution
- 7 Aging (Optional)
- 8 Tips and Considerations
- 9 Troubleshooting Common Issues
- 10 Enjoying Your Homemade Corn Whiskey
- 11 FAQ
- 12 Can I Use Small Batch Techniques for Homemade Corn Whiskey Production?
- 13 Source Links
The Ingredients You’ll Need
To make corn whiskey, you will need the following ingredients:
- 8.5 pounds of crushed corn
- 1.5 pounds of crushed malted barley
- 1 tablespoon of active dry bread yeast
- 1 teaspoon of sugar
These ingredients form the basis of your corn whiskey mash, providing the necessary sugars and enzymes for fermentation. The crushed corn and malted barley serve as the primary grains, while the yeast and sugar kickstart the fermentation process.
In the next section, I will guide you through the process of mashing the corn and preparing it for fermentation.

| Ingredient | Quantity |
|---|---|
| Crushed corn | 8.5 pounds |
| Crushed malted barley | 1.5 pounds |
| Active dry bread yeast | 1 tablespoon |
| Sugar | 1 teaspoon |
Mashing the Corn
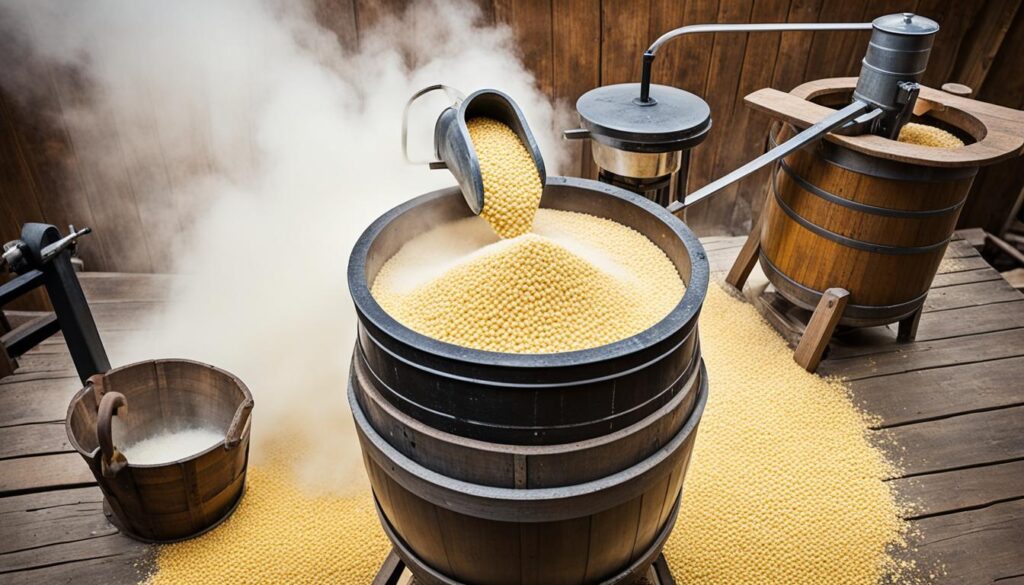
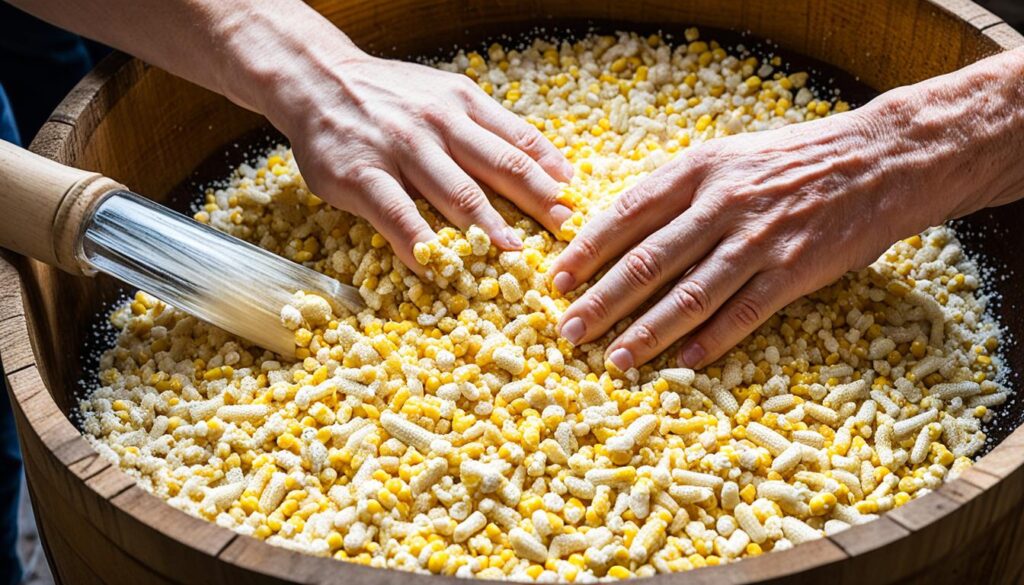
The first step in making corn whiskey is mashing the corn. To begin, I heat 5 gallons of water in a large pot. Once the water reaches 165 degrees Fahrenheit, I add 8.5 pounds of crushed corn to the pot and stir constantly for 3 to 5 minutes. This helps to ensure even distribution and prevent clumping.

After this initial stirring, I continue to stir the corn every 5 minutes until the temperature reaches 152 degrees Fahrenheit. This consistent stirring is crucial for proper enzymatic activity and starch conversion. While stirring, I gradually add 1.5 pounds of crushed malted barley to the pot. The malted barley provides the necessary enzymes to convert the corn’s starches into fermentable sugars.
Once the corn and malted barley are thoroughly mixed, I let the mash rest for 90 minutes. This allows the enzymes in the malted barley to break down the starches and convert them into sugars. The rest period is essential for achieving maximum sugar extraction and ensuring a successful fermentation process.
Making the Yeast Starter
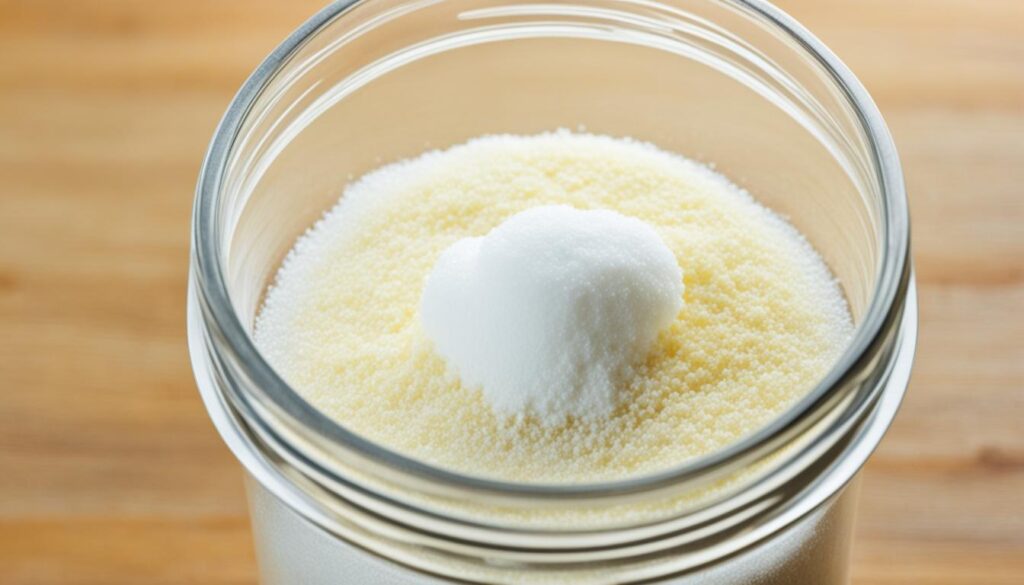
While the corn mash is resting, you can prepare the yeast starter. In a glass of warm water, dissolve 1 tablespoon of active dry bread yeast and 1 teaspoon of sugar. Stir until the yeast and sugar are dissolved. This yeast starter will ensure that the yeast is active and ready to ferment the corn mash.

Preparing the yeast starter is a crucial step in the corn whiskey-making process. The active dry bread yeast is combined with warm water and sugar to create an environment that encourages yeast activation and fermentation. A yeast starter guarantees that the yeast is lively and ready to convert the sugar in the corn mash into alcohol.
Why is a yeast starter important?
A yeast starter plays a vital role in the fermentation process as it kickstarts yeast activity. By dissolving the active dry bread yeast in warm water and sugar, you create an optimal environment for the yeast cells to multiply and become active. This ensures a strong and efficient fermentation process, resulting in a flavorful and well-fermented corn whiskey mash.
| Ingredients | Amount |
|---|---|
| Active dry bread yeast | 1 tablespoon |
| Warm water | 1 glass |
| Sugar | 1 teaspoon |
Using the right amount of yeast and ensuring it is active is essential for a successful fermentation process. Here’s a quick recap of the yeast starter ingredients:
- 1 tablespoon of active dry bread yeast
- 1 glass of warm water
- 1 teaspoon of sugar
Follow the steps below to create the yeast starter:
- Fill a glass with warm water.
- Add 1 tablespoon of active dry bread yeast to the glass.
- Add 1 teaspoon of sugar to the glass.
- Stir the mixture until the yeast and sugar are fully dissolved.
- Let the yeast starter sit for a few minutes to allow the yeast to activate.
Now that your yeast starter is ready, you can proceed with the fermentation process and transform your corn mash into delicious corn whiskey.
Fermentation
Once the corn mash has rested, it’s time to move on to the fermentation process. Checking the temperature is crucial at this stage, as it needs to be cooled to around 70 degrees Fahrenheit for optimal fermentation.
Next, prepare the yeast mixture by dissolving 1 tablespoon of active dry bread yeast and 1 teaspoon of sugar in warm water. Stir the mixture until the yeast and sugar are fully dissolved.
Now, it’s time to transfer the yeast mixture to the corn mash. Carefully pour the yeast mixture into the fermenting container containing the corn mash, ensuring that both liquids are thoroughly combined.
Seal the fermenting container with a suitable airlock. The airlock is an important component as it allows carbon dioxide to escape during fermentation while preventing oxygen from entering the container.
Now that the fermenting container is properly sealed, it’s time to let the magic happen. Allow the mash to ferment for at least one week, or up to three weeks, until it stops bubbling. During this time, the yeast will consume the sugars in the corn mash, converting them into alcohol and creating the distinct flavors of corn whiskey.
Distillation
After fermentation, it’s time to distill the corn whiskey. Distillation is a crucial step in the whiskey-making process that helps concentrate and purify the alcohol. It separates the desirable components from unwanted compounds, resulting in a smoother and more flavorful spirit.
To distill the corn whiskey, transfer the fermented wash to a pot still. The pot still is a traditional distillation apparatus that consists of a large pot and a swan neck or lyne arm. It’s designed to heat the wash and collect the vapor that rises from it.

When starting the distillation process, heat the pot still over medium heat. As the temperature rises, the whiskey will begin to distill, with different components vaporizing at different temperatures. This allows for the separation of the heads, body, and tails.
Heads, Body, and Tails
During distillation, it’s important to collect the heads, body, and tails separately to ensure a high-quality corn whiskey.
- The heads contain volatile compounds such as acetone and methanol, which have low boiling points. These substances can contribute to off-flavors and are typically discarded.
- The body of the whiskey contains the desired flavors and aromas. It’s the heart of the distillate and should be collected and stored for further processing.
- The tails consist of heavier compounds such as fusel oils, which have higher boiling points. These oils can introduce harsh flavors to the whiskey and are usually discarded.
“Collecting the heads, body, and tails separately allows for greater control over the final product, ensuring a smoother and more refined corn whiskey.”
By carefully separating the heads, body, and tails, you can achieve a corn whiskey with the desired flavors and characteristics. The collected body can be aged or diluted to the desired drinking strength.
| Component | Characteristics | Collection |
|---|---|---|
| Heads | Unwanted compounds | Discarded |
| Body | Desirable flavors and aromas | Collected and stored |
| Tails | Fusel oils | Discarded |
Cleaning and Dilution
When it comes to crafting your own corn whiskey, the distillation process is only the beginning. After distillation, it’s important to clean the still thoroughly to remove any residue or impurities that may have accumulated. Follow the manufacturer’s instructions for cleaning the still, ensuring a fresh start for your next batch of corn whiskey.
Once the still is clean and ready to go, it’s time to consider the drinking strength of your corn whiskey. Dilution is a crucial step that allows you to achieve the desired flavor and alcohol content in your final product. Start by adding a small amount of plain water to your corn whiskey and gradually increase the ratio until you find the perfect balance that suits your taste.
Remember, dilution is a personal preference, and there are no right or wrong ratios. Some whiskey enthusiasts enjoy their corn whiskey neat, while others prefer a more diluted version. Experimentation is key to finding your preferred drinking strength.
Dilution Ratios for Corn Whiskey
| Ratio | Water to Corn Whiskey |
|---|---|
| Neat | No water added |
| Strong | 1 part water to 3 parts corn whiskey |
| Moderate | 1 part water to 5 parts corn whiskey |
| Light | 1 part water to 10 parts corn whiskey |
Feel free to explore different dilution ratios to find the one that best complements the flavors and aromas of your homemade corn whiskey. Remember to take notes along your whiskey-making journey to replicate successful batches and refine your techniques.
“The dilution process allows you to customize the drinking experience of your corn whiskey, creating a spirit that perfectly suits your taste buds.” – Whiskey Enthusiast

With your still cleaned and your corn whiskey diluted to perfection, you’re now ready to enjoy the fruits of your labor. Pour yourself a glass, savor the flavors, and toast to the satisfaction of crafting your own homemade corn whiskey. Cheers!
Aging (Optional)
While corn whiskey does not need to be aged before consumption, you may choose to age it for several months to develop a mellower flavor. Oak is a popular choice for aging whiskey, as it imparts desirable flavors and aromas. If you decide to age your corn whiskey, store it in a sealed container with oak and let it sit for the desired aging period.
During the aging process, the whiskey interacts with the oak, allowing it to take on unique characteristics. The porous nature of oak allows the whiskey to breathe and helps to mellow out any harsh flavors. This results in a smoother and more well-rounded whiskey experience.
Image:
If you’re considering aging your corn whiskey, there are a few things to keep in mind. First, be sure to use high-quality oak to ensure the best flavor infusion. You can use oak chips, spirals, or even oak barrels for aging. Second, choose the right aging period. Aging too short or too long can impact the overall taste of the whiskey. It’s a good idea to taste the whiskey periodically during the aging process to determine when it has reached your desired flavor profile.
“Aging corn whiskey can be a rewarding experience that adds depth and complexity to the final product. It allows you to have more control over the flavor profile and create a whiskey that is uniquely yours.” – Whiskey Enthusiast
If you’re new to aging whiskey, it’s worth experimenting with different aging techniques and timeframes to find what works best for you. Each batch of corn whiskey can have its own unique aging journey.
Tips for Aging Corn Whiskey:
- Use high-quality oak for the best flavor infusion.
- Experiment with different aging techniques such as oak chips, spirals, or barrels.
- Taste the whiskey periodically during the aging process to determine when it has reached your desired flavor.
- Take notes during the aging process to track your preferences and findings.
By taking the time to age your corn whiskey, you can create a more refined and enjoyable spirit. The flavors and aromas that develop during the aging process add complexity and depth to the whiskey, providing a truly unique drinking experience.
Tips and Considerations
When it comes to making corn whiskey, there are a few important tips and considerations to keep in mind. Not only do you want to ensure that you’re following all legal regulations regarding home distillation, but you also have the opportunity to experiment and create unique flavors in your whiskey.
- Research and Familiarize: Before you begin your corn whiskey production journey, take the time to research and familiarize yourself with the laws and permits required in your area. Different regions may have specific regulations regarding the production and consumption of distilled spirits. By understanding and following these guidelines, you can ensure that you’re operating within the legal framework.
- Experiment with Different Corn Varieties: Corn whiskey offers a canvas for creativity. Consider trying different varieties of corn to see how they contribute to the flavor and character of your whiskey. Each type of corn brings its own unique qualities to the spirit, allowing you to discover your preferred taste profile.
- Explore Ratios of Grains: In addition to experimenting with corn varieties, you can also play around with the ratios of grains in your mash. Adding different grains, such as malted barley or rye, can introduce new flavors and complexities to your corn whiskey. Don’t be afraid to think outside the box and create your own custom blend.
- Keep Detailed Notes: To replicate successful batches of corn whiskey, it’s essential to keep detailed notes of your process and ingredients. Record the specific ratios, temperatures, and durations for each step. This way, you can refer back to your notes and make adjustments or recreate your favorite batches with precision.
Remember, making corn whiskey is not only a process of following steps but also a journey of exploration and personalization. Embrace the opportunity to create your own unique flavor profile and enjoy the fruits of your labor.
| Tips for Making Corn Whiskey |
|---|
| Research and familiarize yourself with the legal regulations |
| Experiment with different corn varieties |
| Explore ratios of grains for unique flavor profiles |
| Keep detailed notes for replication |
Troubleshooting Common Issues
If you encounter issues during the corn whiskey-making process, such as incomplete starch conversion or fermentation problems, there are several potential solutions. Don’t worry, these common issues can be resolved with a little troubleshooting. Here are some tips to help you get back on track:
Check Your Mash Temperatures
Proper enzymatic activity is crucial for starch conversion in the corn mash. Ensure that you are maintaining the correct temperatures throughout the mashing process. Use a reliable thermometer to monitor the temperature closely. If the temperature is too low, the enzymes may not work efficiently, resulting in incomplete starch conversion. On the other hand, if the temperature is too high, it could denature the enzymes, causing similar issues.
Ensure Yeast Health and Temperature
Fermentation issues can also arise due to problems with the yeast. Make sure you are using high-quality, active dry bread yeast. Check the expiration date and ensure proper storage conditions. Additionally, pay attention to the temperature during fermentation. Yeast activity is optimal within a specific temperature range. If the temperature is too low, the yeast might become sluggish, leading to slow or incomplete fermentation. If it’s too high, it could stress the yeast and produce off-flavors.
Adjust Grain Ratios
If you consistently encounter issues with starch conversion or fermentation, consider adjusting the grain ratios in your corn whiskey recipe. The proportions of corn, malted barley, and other grains can affect the enzymatic activity and sugar availability during fermentation. Experimenting with different ratios may improve the overall performance of the mash and enhance the flavor profile of your corn whiskey.
Remember, troubleshooting corn whiskey is part of the learning process. Don’t be discouraged by setbacks. With persistence and practice, you’ll gain insights into the nuances of the whiskey-making process and achieve the desired results.
| Issue | Possible Cause | Solution |
|---|---|---|
| Incomplete Starch Conversion | Inadequate mash temperature | Monitor mash temperature closely and adjust as needed |
| Incomplete Starch Conversion | Insufficient enzyme activity | Consider using a different enzyme source or adjusting enzyme dosage |
| Fermentation Issues | Unhealthy yeast | Ensure yeast viability and use fresh, active yeast |
| Fermentation Issues | Improper fermenting temperature | Maintain the recommended temperature range for yeast activity |
| Fermentation Issues | Contaminated equipment | Thoroughly clean and sanitize all equipment before fermentation |
Enjoying Your Homemade Corn Whiskey
After all the effort and patience put into making your own corn whiskey, it’s time to reap the rewards and indulge in the delightful flavors and aromas. Pour yourself a glass of your homemade corn whiskey and savor the craftsmanship that went into creating this unique spirit.
Whether you choose to enjoy your corn whiskey neat, on the rocks, or as the base for your favorite cocktail, each sip will be a testament to your passion for homemade spirits. The smoothness and complexity of flavors will transport you to a world of rich corn sweetness and subtle spice that only comes from crafting your own whiskey.
Don’t keep the joy of your creation to yourself. Share your homemade corn whiskey with friends and family and witness their amazement as they appreciate the labor of love that went into its making. It’s an opportunity to showcase your skills and introduce others to the incredible taste of homemade spirits.
Cheers to the art of home distillation and the satisfaction of creating something extraordinary with your own hands. Raise your glass, toast to your success, and enjoy the fruits of your labor. Nothing compares to the sense of accomplishment and the pure enjoyment that comes from relishing your homemade corn whiskey.
FAQ
How do I make corn whiskey at home?
What are the ingredients needed to make corn whiskey?
How do I mash the corn for corn whiskey?
How do I make the yeast starter for corn whiskey?
How long should I ferment the corn whiskey mash?
How do I distill corn whiskey?
How do I clean and dilute corn whiskey?
Should I age my corn whiskey?
What are some tips for making corn whiskey at home?
What should I do if I encounter issues during the corn whiskey-making process?
How can I enjoy my homemade corn whiskey?
Can I Use Small Batch Techniques for Homemade Corn Whiskey Production?
Yes, you can use small batch whiskey production techniques for homemade corn whiskey. Small batch production allows for greater control over the distillation process and can result in a higher quality, more nuanced final product. This method is popular among craft distillers and home enthusiasts looking to create unique, artisanal spirits.